TP-Link Router Port Forwarding: A Step-by-Step Guide
Learn how to set up port forwarding on your TP-Link Router for a seamless connection. Plus, enjoy crystal-clear audio with Apple AirPods anytime!

In today's digital world, having a TP-Link Router can significantly enhance your internet experience, especially if you need to open specific ports for gaming, remote access, or hosting a server. Port forwarding allows external devices to communicate with services inside your private network securely and efficiently. If you're unsure how to set it up, don't worry! This guide will walk you through the process step by step.
Why Use Port Forwarding on a TP-Link Router?

Port forwarding is essential for various applications, such as:
- Online gaming, ensuring a smoother experience with reduced lag.
- Running a home server, making files or services accessible from the internet.
- Remote access to security cameras or other IoT devices.
- Enhancing peer-to-peer applications like torrents or VoIP services.
Now, let’s dive into how you can set up port forwarding on your TP-Link Router.
Step-by-Step Guide to Setting Up Port Forwarding
Step 1: Access the TP-Link Router Admin Panel
- Connect your computer or mobile device to the TP-Link Router via Wi-Fi or Ethernet.
- Open a web browser and type
192.168.0.1or192.168.1.1in the address bar. - Enter your router’s login credentials (default username and password are usually “admin,” unless you’ve changed them).
Step 2: Locate the Port Forwarding Section
- In the router dashboard, navigate to the “Forwarding” or “NAT Forwarding” section.
- Click on “Virtual Servers” or “Port Forwarding” (terminology may vary based on the model).
Step 3: Add a New Port Forwarding Rule
- Click the “Add New” button to create a new rule.
- Enter the following details:
- Service Name: A custom name (e.g., "Gaming Server").
- Port Range: The external port(s) you need to open.
- Internal IP Address: The IP of the device running the service.
- Protocol: Select TCP, UDP, or Both as required.
- Click Save and apply the changes.
Step 4: Test Your Port Forwarding Setup
- Use an online port checker tool to verify if the port is open.
- If the service isn’t working, double-check your router and firewall settings.
Common Issues & Troubleshooting
-
Port Still Closed?
- Ensure the device using the forwarded port has a static IP address.
- Check if your ISP blocks certain ports.
- Restart your TP-Link Router to apply changes.
-
Firewall Blocking Connection?
- Temporarily disable your antivirus or firewall to test connectivity.
- Add an exception for the forwarded port in the firewall settings.
-
Incorrect IP Address?
- Make sure the internal IP address matches the device needing access.
Enhance Your Network Experience with Apple AirPods
Once your TP-Link Router is optimized with port forwarding, enjoy a seamless online experience, whether it's gaming, streaming, or video calls. For an even better wireless experience, pair your setup with Apple AirPods for crystal-clear audio while you work or play.
Conclusion
Port forwarding on a TP-Link Router is a simple but powerful way to improve network performance for specific applications. Whether you're a gamer, remote worker, or home server enthusiast, following these steps ensures a hassle-free setup. Keep your router firmware updated and always double-check your settings to maintain a smooth and secure connection.
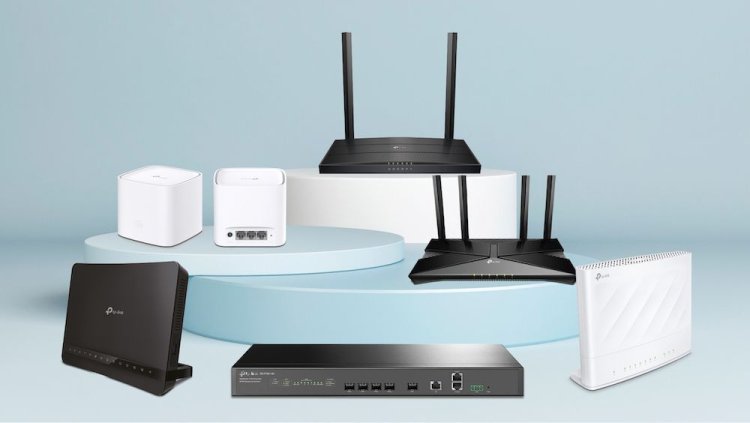
Need a reliable TP-Link Router? Check out the latest models to enhance your home network today!
What's Your Reaction?