

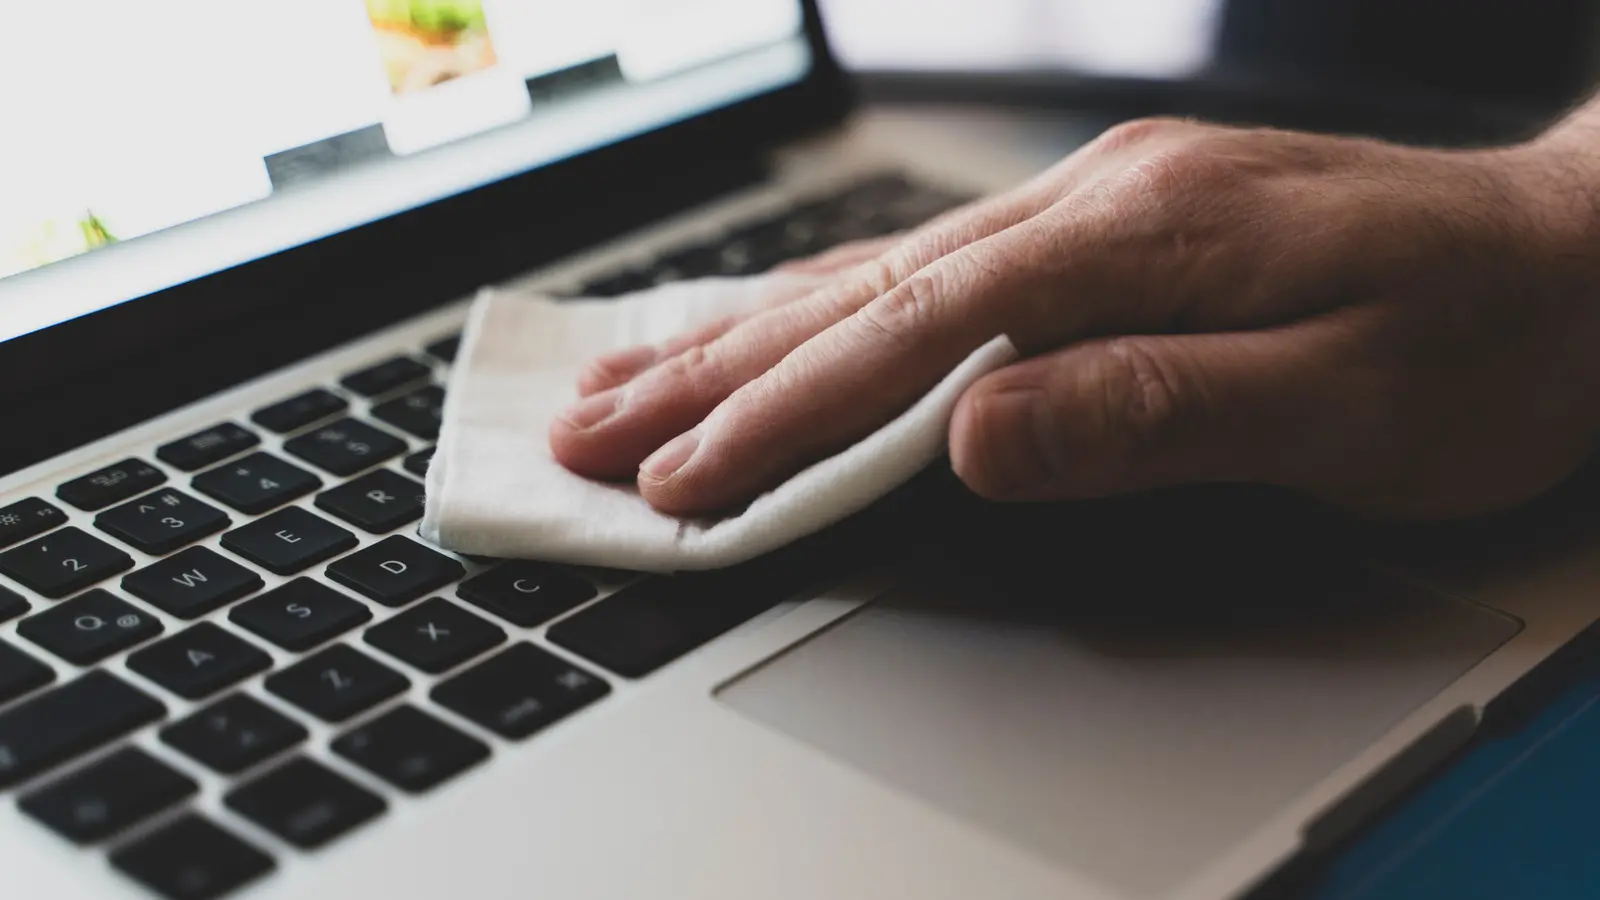
Cleaning your keyboard is one of the many ways in which a few minutes of work can lead to a significantly lengthened life for your laptop. The occasional cleaning regimen is not only sanitary, but it can also improve the keyboard's responsiveness. Dust, crumbs, and debris can get caught beneath the keycaps and cause keystrokes to not register—this, in turn, can lead to weird typos or a misstep while gaming. Over time, the buildup of oils and dirt can make keys feel sticky or sluggish, reducing your typing speed and overall user experience.
Luckily, cleaning the keyboard is a relatively simple activity, and you can clean your laptop keyboard with everyday items. There are some specialty tools you can buy specifically for this purpose, but they are not strictly necessary. Likewise, while a thorough deep clean is possible, a simple wipedown every few weeks is usually sufficient for maintaining a hygienic and responsive keyboard.
The tools you may need
There are a few things you will need to do this right. For one, you will want some sort of latex or vinyl gloves. The oil from your fingers is part of what will be cleaned, and you don't want to deposit it right back on the keys during the cleaning process. Plus, some of these methods use isopropyl alcohol, which can irritate the skin, so wearing gloves is a good safety measure.
Next, you will want a soft brush to wipe away any dust. A cheap synthetic paintbrush is perfect for this because its bristles are gentle and can reach between keys. You will also want a microfiber cloth—these are highly absorbent and have a large surface area that is excellent for picking up dirt and debris. Avoid paper towels, as they may break apart and leave fibers caught in the keycaps. Compressed air is another option, as it can quickly blow away loose dirt without any physical contact. Choose a can of compressed air designed for electronics to ensure it is moisture-free and safe for sensitive components.
Before all else: Unplug/turn off the laptop
The first thing you will want to do is disconnect your laptop from power and shut it down completely. This is especially important if you plan on disassembling the laptop to any degree—you don't want to accidentally short a circuit or shock yourself while cleaning near exposed electronics.
Once the device is powered down, turn the laptop upside down. Gravity is a major factor during cleaning: flipping the laptop upside down prevents dirt and debris from falling deeper beneath the keycaps. If you plan to use compressed air, holding the laptop upside down in one hand while spraying is the most efficient way to access all keys. Alternatively, you can place the laptop upright like a tent on a table, which still allows easy access for brushing without the risk of dropping it. However, you will still need to hold the laptop securely when using compressed air to avoid movement that might disrupt the cleaning.
The brush and compressed air clean: Just the basics
Using the brush, gently run it along the keys to pick up any dust. Work the bristles in between the keys to dislodge any debris that has accumulated there. Be careful not to push dirt deeper under the keycaps—even with the laptop upside down, excessive force can still cause particles to lodge in the switch mechanism.
For compressed air, hold the laptop in your free hand. If you are cleaning a MacBook, Apple recommends holding it at a 75-degree angle for optimal debris removal. Attach the nozzle and hold the can so that the nozzle is about an inch away from the keyboard. Press the release gently and move your hand in a left-to-right 'Z' pattern across the keys. Then flip the laptop 90 degrees and repeat the process to ensure all sides are covered. Avoid tilting the can or shaking it, as this can release propellant instead of air. This whole method should take about two minutes and is ideal for quick cleaning sessions.
The microfiber cloth clean: For detailing
After brushing or using compressed air, you can gently wipe the keyboard with a microfiber cloth. The cloth will pick up any remaining dust and also remove oils from your skin that have built up on the key surfaces. For a more thorough clean, lightly dampen the cloth with water—but make sure it is only slightly moist, not wet.
If you want to disinfect the keys or remove tough oil stains, isopropyl alcohol is a great choice. Isopropyl kills bacteria and germs on the surface and evaporates quickly, minimizing risk to the laptop. However, use a solution no stronger than 70% isopropyl alcohol. Higher concentrations can strip protective coatings from keycaps and may even remove the paint or lettering. Dab a small amount of alcohol onto the microfiber cloth—never directly onto the keyboard—and gently wipe each key. Avoid pressing hard, as you want to prevent liquid from seeping under the keys. Although alcohol evaporates rapidly, it's still wise to be cautious around the edges of keycaps. After a few moments, your keys should be thoroughly clean and sanitized.
The keycap removal clean: Long-term buildup
If you are experiencing persistent sticking or dead keys, you may need to remove the keycaps and clean beneath them. Before prying any keys off, verify that your laptop model allows keycap removal—some ultra-thin laptops have keyboards that are not meant to be disassembled. Also, avoid doing this too frequently, as repeated removal can wear out the retention clips and cause keys to become loose.
Once confirmed, use a flathead screwdriver or a specialized keycap puller to gently pry the key up from its membrane. Tweezers can work but require careful handling to avoid bending or snapping the keycap. After removal, use the microfiber cloth to clean any dirt caked underneath. For stubborn grime, dab the cloth with isopropyl alcohol and wipe the area. Also clean the membrane beneath the key, but use minimal moisture and allow everything to dry completely before replacing the keycap. Make sure the keycap snaps back into place firmly—test it by pressing gently to ensure it registers correctly.
The towel and gravity clean: A simple water spill
Spilling a drink on a keyboard can seem like a disaster, but with quick action you can often save your laptop. First, unplug and turn off the device immediately. Then flip it upside down, just as with the cleaning methods above. Place a towel underneath the laptop so that the towel is flat against the keyboard—you may need to prop the laptop at an angle if it doesn't fold flat. Gravity will help draw the liquid out, and the towel will absorb it. Leave the laptop in this inverted position for at least 24 hours to allow all moisture to evaporate.
It can be stressful to wait, but resist the urge to turn the laptop on sooner. If you set the computer flat (right side up) too quickly, liquid can seep under the keys and into the motherboard, causing short circuits. This simple technique gives you the best chance of a full recovery. While there is no absolute guarantee, it is certainly worth trying before resorting to professional repair.
Time for a pro clean: A sugary drink spill
If the spill involved a sugary beverage like soda, the situation becomes much more serious. Sugar residue can cause corrosion and attract dust, leading to sticky keys and potential electrical issues. In most cases, the laptop will require some level of disassembly to thoroughly clean the internal components.
At this point, it is usually best to take your laptop to a professional repair shop. Cleaning the inside of a laptop is far more delicate than cleaning a desktop PC, and it requires specialized tools and experience. Many modern laptops—especially thin and high-end models—are not designed to be easily opened by end users. Attempting a disassembly without proper knowledge can cause more harm than good.
If you are tech‑savvy and confident, you can attempt the cleaning yourself, but weigh the risks carefully. The best approach is prevention: use desk cup holders that clamp to your desk or invest in a keyboard skin if you are accident-prone. These inexpensive accessories can protect your keyboard from spills and keep your workspace clutter-free.
Source:SlashGear News